Buying Guides · oppdatert 2026-11-13
Mounting Cameras on Insulated Facades Without Leaks
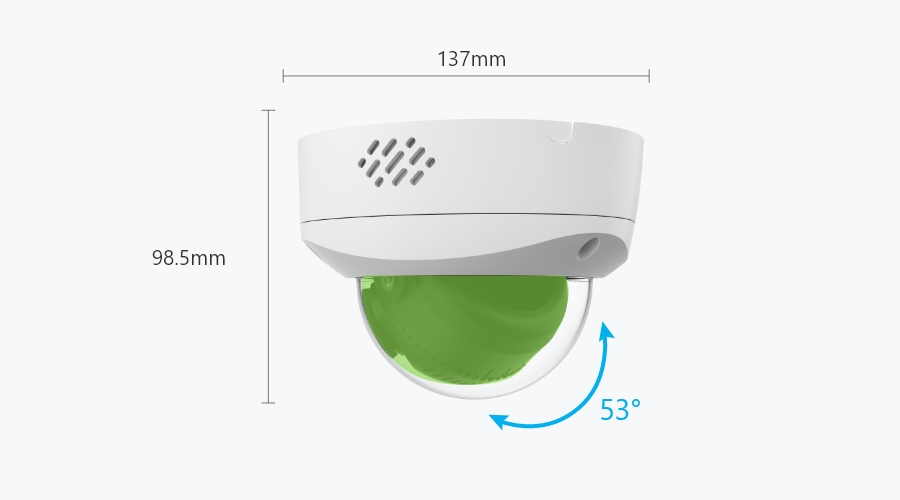
Why Insulated Walls Need a Different Approach
Many homes and commercial buildings across northern Europe have external wall insulation. Some have a thin layer of render over polystyrene or mineral wool. Others have cladding fixed over insulation with an air gap behind it. These walls keep heat in well, but they are a poor base for a security camera. If you drill a hole and push in a standard plug, it will grip only the soft insulation. The camera may look fine on day one. After a few weeks of wind, snow load and frost, it starts to sag or tilt, and eventually it can work loose completely.
There is a second problem that matters just as much. Every hole you drill breaks the weatherproof skin of the facade. If rainwater or melting snow gets into the insulation, it can freeze, crack the render and soak the insulation from the inside. The damage often shows up months later as stains, bubbling render or a damp patch indoors. This guide explains how to mount cameras on these walls so that they stay firm and the facade stays dry.
Know What Your Wall Is Made Of
Find out what is behind the surface before you buy fixings. The usual types are:
- Rendered insulation (ETICS): a few millimetres of render over polystyrene or mineral wool, which is fixed to masonry or concrete. A knock on the wall sounds hollow or soft.
- Ventilated cladding: timber boards, fibre cement or metal panels on battens, with an air gap and insulation behind. This is common on timber-framed houses and newer commercial buildings.
- Solid wall with internal insulation: brick, block or concrete on the outside. Ordinary masonry fixings work here.
To check the build-up, look at the edge of the facade at window reveals or the base of the wall. Building drawings are another good source. If you are unsure, drill a small test hole in an inconspicuous spot and note where the drill bit meets firm resistance. On rendered insulation, the distance to the solid wall can easily be 100–250 mm. Your fixings need to reach the solid wall, not just the insulation.
Choosing the Right Fixings
A security camera is not heavy, but it acts as a lever. Wind, snow and the occasional knock all put leverage on the fixings, especially with longer brackets. There are three reliable approaches for rendered insulation:
- Insulation mounting blocks or cylinders. These are made from high-density foam or plastic and are set into the insulation, either during construction or later by cutting a neat hole. The block gives you a firm, flat base flush with the render. You then screw the camera or junction box into it. This is the cleanest option for lightweight cameras and avoids a cold bridge.
- Stand-off anchors to the solid wall. These long threaded fixings pass through the insulation and anchor into the masonry or concrete behind it. Many systems include a spacer that stops the insulation being crushed when you tighten them. This option suits heavier PTZ cameras, long arm brackets or exposed corners.
- Chemical anchors with threaded rod. Resin anchoring into the substrate is very strong. It also works well in hollow blocks, where you use a mesh sleeve. You need to get the rod length right and protect the render around the rod.
Avoid long frame plugs that are simply tightened against the render. Tightening pulls the bracket into the soft insulation, cracks the render and leaves gaps where water gets in.
On ventilated cladding, never rely on the cladding board alone. Fix the camera into a batten or the frame behind it, or add a solid backing piece behind the cladding. On metal or fibre cement panels, follow the panel manufacturer's guidance on drilling and edge distances.
Whichever method you choose, use stainless steel or suitably coated fixings outdoors. Rust stains running down a pale render are hard to remove.
Use a Junction Box and the Right Bracket
A junction box, sometimes called a back box, is especially useful on insulated walls. It gives you a sealed space behind the camera for the RJ45 connector, power lead and any surplus cable, so you only need one small cable hole into the wall. Many Hikvision, Dahua and Reolink cameras have matching junction boxes or wall brackets designed for their mounting hole pattern. Check compatibility on the product page before ordering.
Some tips on brackets:
- Keep the bracket as short as practical. Every extra centimetre of arm increases the leverage on the fixings.
- Use a wider base plate, or a mounting block bigger than the bracket, to spread the load over more insulation.
- On corners, use a corner bracket fixed to both faces, or anchor through to the masonry. Corners of insulated walls are often the weakest point.
- If you need to mount the camera on a pole or downpipe instead, use a proper pole mount and stainless strapping, never cable ties.
Sealing Cable Entries Against Rain and Meltwater
Water usually gets in around the cable, not around the screws. Take care at this step:
- Drill the cable hole so it falls slightly towards the outside. Any water that enters then drains out rather than running into the wall.
- Line the hole with a sleeve or conduit through the insulation. This protects the cable from sharp render edges and makes it easier to replace later.
- Seal the gap between the sleeve and the render with an exterior-grade sealant that suits the facade material. Then seal around the cable inside the sleeve.
- Form a drip loop. Let the cable dip below the entry point before it rises into the wall, so water drips off rather than following the cable inwards.
- Bring the cable out inside the junction box wherever possible, rather than through an exposed hole beside the camera.
Seal the screw holes as well. A small amount of sealant in each hole before you fit the fixing helps keep water out of the insulation. Some insulation fixing systems include their own sealing washers or caps. Use them.
Finally, think about the inside of the building. Where the cable enters a heated room, seal around it at the vapour barrier. Otherwise warm, moist indoor air can travel along the cable route and cause condensation inside the wall, or even inside the camera housing.
Installing in Cold Weather
Many people decide to add cameras in November, when the evenings are long and dark. If you are working on a facade in late autumn or winter, keep these points in mind:
- Sealants and chemical anchors have minimum application temperatures. Check the cartridge. In the cold, resin takes much longer to cure, so allow the full curing time before loading the anchor.
- Render is brittle in frost. Use a sharp drill bit, start without hammer action, and only switch to hammer mode once you reach the masonry.
- Work on a dry day. Sealing a wet or iced surface rarely gives a lasting bond.
- Think about snow and ice. Do not mount cameras directly under an eaves edge where icicles form or snow slides off the roof. A falling chunk of ice can knock a camera out of alignment or loosen weak fixings.
If it is too cold for a proper job, consider a temporary solution such as a battery or 4G camera on a fence post or inside a window. You can then complete the permanent facade installation once temperatures allow.
Warranty, Rented Buildings and Shared Facades
Facade systems on newer buildings may be under warranty from the installer or contractor. Drilling into them without the correct fixings could affect that warranty. Check the documentation, or ask the installer which fixing products are approved.
In apartment buildings and commercial premises, the facade is often common property. Get permission from the housing association, landlord or building manager before drilling. The same applies to camera placement and viewing angles. A camera on a shared facade must respect the privacy of neighbours and passers-by.
If you are planning several cameras, a short consultation with the facade contractor can save a lot of repair work later.
Conclusion
Insulated facades make poor bases for ordinary wall plugs, but mounting a camera on them properly is not complicated. Find out what is behind the render or cladding. Use mounting blocks or fixings that reach the solid wall, and use a junction box so there is only one small cable entry. Drill cable holes sloping outwards, seal every opening and form a drip loop. If you are working in winter, respect the temperature limits of your sealants and anchors. Done this way, your camera will stay firmly in place and keep its view through storms and snow, and your facade will stay dry for years to come.
Be om tilbud på installasjon Se alle: Fester for overvåkingskameraer →
 Buying GuidesReolink vs Hikvision vs Dahua: Hvilket kameramerke passer deg?
 Buying GuidesKameraets dag/natt-modus: Løs flimring og sen omkobling
 Buying GuidesBullet-, dome- eller turretkamera: Hvilken form bør du kjøpe?