Buying Guides · ενημερώθηκε 2026-10-16
Best Security Camera Placement: A Room-by-Room Guide
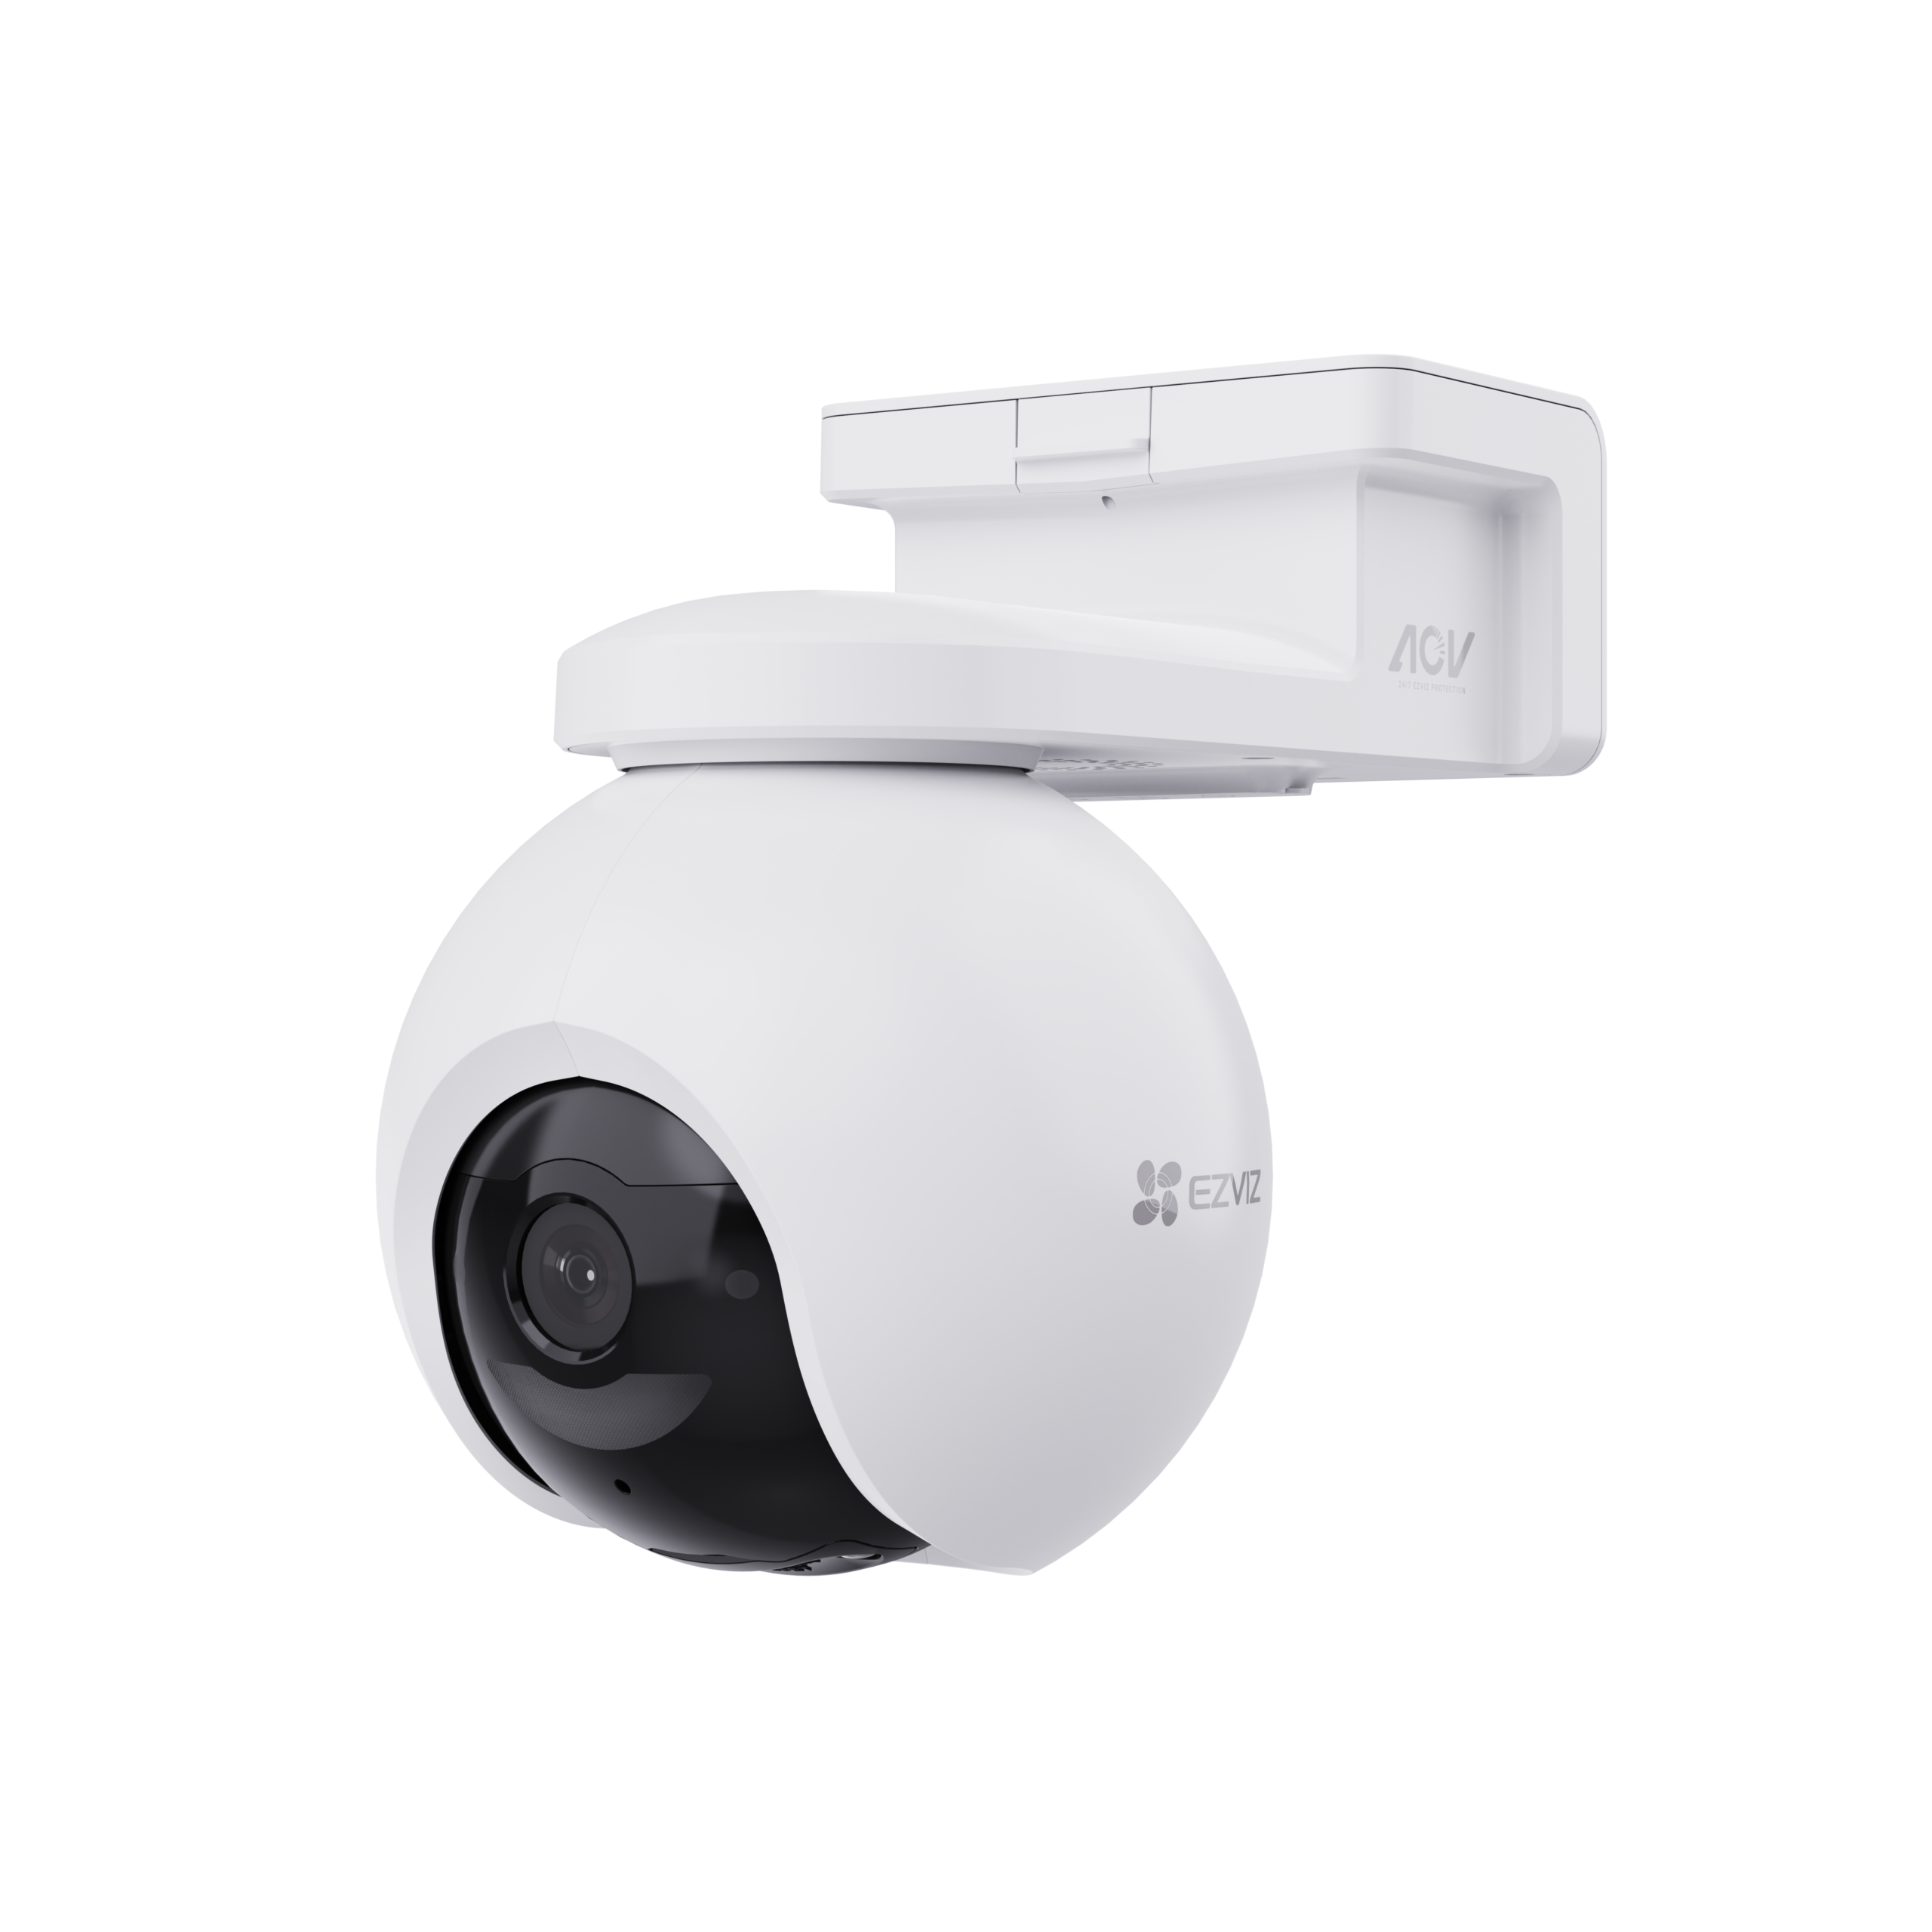
Buying the right camera is only half the job. Where you put it makes just as much difference to how useful your footage actually is. A brilliant camera pointed at the wrong angle, or mounted too high, can leave you with blurry faces, missed number plates, or footage of next door’s hedge instead of your own front path. This guide walks through the areas that matter most and how to position cameras so they actually earn their keep.
Start with your entry points
Front and back doors are the obvious priority, since most break-ins involve someone approaching a door first. Mount the camera at roughly head height, around two to two and a half metres, angled slightly downward. This gives a clear view of faces without making the camera an easy target for tampering. Avoid pointing straight down from above the door frame, as this only captures the top of someone’s head, which is rarely useful for identification.
If you have a video doorbell, remember it usually looks straight ahead and slightly down, so it is better suited to visitors at the door than to monitoring the wider street. Pair it with a separate camera further back if you also want to watch the driveway or approach path.
Cover the driveway and garage
Vehicle theft and break-ins into garages are common, so a camera covering the driveway is worth prioritising. Position it so it captures the full width of the drive, including the point where a vehicle would enter from the road. A slightly elevated position, such as under the eaves or on a garage corner, gives a wider field of view and keeps the camera out of easy reach.
If number plate capture matters to you, keep the camera closer to the area where vehicles slow down or park, rather than at a distance where plates become too small to read. Resolution and lens angle both affect this, so check the effective distance for clear detail rather than just the maximum viewing range.
Garden, side passages and back yards
Side passages and back gardens are frequently overlooked, yet they are often the quieter routes intruders prefer. A camera covering a side gate or passage should be angled along the length of the path rather than across it, so anyone walking through stays in frame for longer rather than passing by in a second or two.
For larger gardens, think about overlapping coverage rather than relying on a single wide-angle camera to do everything. Two cameras with a modest overlap at the boundary will usually give better detail than one camera trying to cover the whole plot, since image quality drops off with distance.
Common placement mistakes to avoid
A few recurring issues account for most disappointing footage. Being aware of these before installation saves a lot of reworking later.
- Mounting cameras too high, which reduces facial detail even with a high resolution sensor
- Pointing cameras directly into low sun at sunrise or sunset, causing glare and washed-out footage
- Placing cameras where foliage will grow into the frame over a season, blocking the view gradually
- Leaving cameras within easy reach, making them simple to knock, cover, or disable
- Aiming cameras across a boundary so they mainly capture a neighbour’s property rather than your own
- Ignoring infrared reflection off nearby windows or glass, which can wash out night footage
Indoor cameras: think about routine, not just rooms
Indoor cameras are often placed to cover a whole room, but it is worth thinking about the routes people actually take rather than filling every corner. A camera covering a hallway or the top of the stairs, for example, will usually capture more useful movement than one aimed at an empty living room. If you have pets, position cameras to avoid triggering constant motion alerts from normal movement at floor level, or use a camera with smart detection features that can distinguish between people and animals.
Height, angle and the trade-off with detail
There is a natural trade-off between height and detail. A higher mounting position gives a wider view and is harder to tamper with, but faces and fine detail become smaller and less clear. A lower position captures more detail but narrows the field of view and is easier to interfere with. For most homes, a height of around two to three metres strikes a reasonable balance for exterior cameras, while doorbell height is fine for entrance-focused cameras.
It is also worth checking a camera’s stated viewing angle against the actual width you need to cover. A narrow angle lens covering a wide driveway will leave gaps at the edges, while an overly wide angle can distort distant detail.
Weatherproofing and mounting practicalities
Outdoor placement should also take exposure into account. Cameras mounted under an eave or overhang get some natural protection from direct rain and prolonged sun, which can help preserve the housing and lens over time even on models rated for outdoor use. Make sure cabling, whether power or network, is routed so it is not left dangling or exposed to being pulled, and that any junction points are properly protected from moisture.
A simple checklist before you fix anything in place
Before committing to permanent mounting, it helps to test positions temporarily and check footage on a phone or monitor at different times of day.
- Check the view during both daylight and after dark, since night-time framing can differ once infrared range comes into play
- Walk through the frame yourself to judge whether facial detail is usable at typical distances
- Look for glare from streetlights, security lights, or low sun at the times cameras will be most active
- Confirm the mounting point is out of easy reach from ground level or nearby structures
- Check for any obstructions, such as branches, that might grow into frame within a season
Good placement is often the difference between a camera that reassures you and one that actually helps if something goes wrong. Taking the time to plan positions properly, rather than simply mounting where it is convenient, will pay off the first time you actually need to check the footage.
 Buying GuidesMotion Detection Zones and Privacy Masks: Setup Guide
 Buying GuidesSecurity Cameras for Holiday Homes and Cottages: Setup Guide
 Buying GuidesSecurity Cameras in Winter: Cold Weather Tips and Fixes